
As the leaves turn crisp and the temperatures drop, it’s time to think about winterizing your sprinklers. Just like you prepare your home for colder months, your irrigation system needs some TLC too. Neglecting this crucial step could lead to costly damages and an unwelcome spring surprise when you turn on those taps again. Let’s dive into how to winterize sprinklers effectively so that they remain in peak condition all year round!
Key Takeaways:
-
Winterizing is critical to prevent frozen water from expanding and cracking your sprinkler system’s pipes and valves.
-
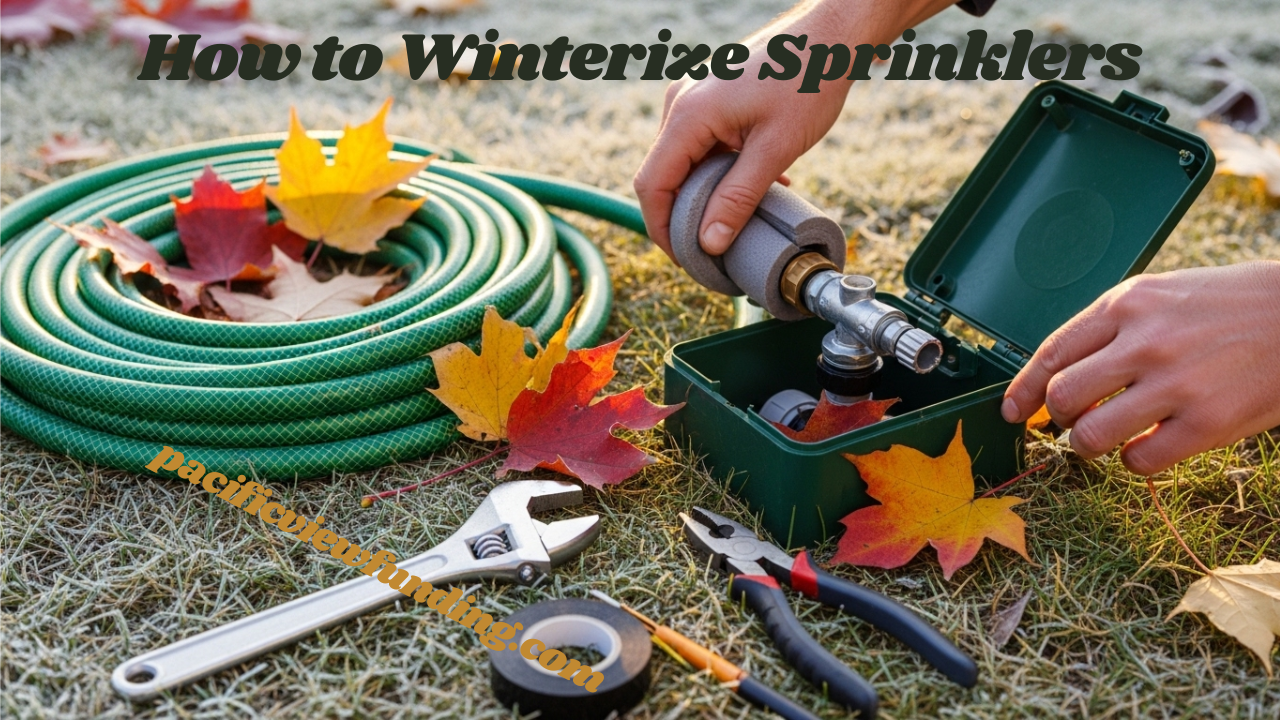
The core steps are: shutting off the water supply, draining all water from the pipes, and blowing out remaining water with compressed air.
-
Insulating above-ground components like backflow preventers and valves adds a crucial layer of protection against freeze damage.
-
Proactive winterization is far cheaper than repairing or replacing a burst irrigation system in the spring.
Understanding the Importance of Winterizing Your Sprinklers
Winterizing your sprinklers is essential to protect your investment. Cold weather can freeze the water inside pipes, leading to cracks and costly repairs.
By taking the time to winterize, you ensure that everything remains intact until spring arrives. This preventative measure saves you from unexpected headaches when it’s time to turn on your system again.
Exploring the Risks of Not Winterizing
Failing to winterize your sprinklers can lead to significant issues. Frozen water in the pipes expands, causing cracks and leaks that compromise the entire system.
This neglect not only affects your irrigation but can also damage surrounding landscaping. Plants deprived of proper watering may wilt or die, leading to costly replacements and repairs down the line.
Potential Damage to Sprinkler System and Landscape
Frozen water can expand, causing pipes to crack and valves to break. This damage is not just costly but can lead to significant disruptions in your landscaping.
Additionally, untreated systems may leak, resulting in water pooling that harms plants and soil. Neglecting winterization leads to a cascade of problems for both your sprinkler system and garden aesthetics.
Cost of Repairs vs. Cost of Winterizing
Neglecting to winterize your sprinkler system can lead to costly repairs. Frozen pipes, damaged valves, and broken components add up quickly.
In contrast, the expense of proper winterization is minimal compared to potential repair costs. A little investment now saves you from significant financial headaches later on, ensuring your landscape remains beautiful for years to come.
Steps to Winterize Your Sprinkler System
Start by assessing your sprinkler system. Identify all key components, including valves and pipes. Knowing what you have will make the process smoother.
Next, locate the shut-off valve to prevent water from entering the system. Drain any remaining water from pipes and valves to avoid freezing damage. This is a crucial step in ensuring your sprinklers are ready for winter’s chill.
Assessing Your System and Identifying Components
Before winterizing, take a close look at your sprinkler system. Check for visible components like pipes, valves, and heads. Understanding what you have will make the process smoother.
Make a list of each part’s location and condition. This assessment helps ensure that nothing is overlooked during winterization. Being thorough now saves headaches when spring rolls around and it’s time to reassemble your system.
Locating Shut-Off Valve
Finding the shut-off valve is crucial for winterizing your sprinkler system. Typically, it’s located near the main water supply line or in a basement.
Once you identify its location, ensure it operates smoothly. This will make draining and protecting your system much easier when the temperatures drop. Take note of this essential component before starting any winterization tasks.
Draining Water from Pipes and Valves
To effectively drain water from your sprinkler system, start by turning off the main water supply. Open all the valves and faucets to release any remaining pressure in the pipes.
Allow gravity to do its job; let the water flow out completely. This step is crucial to prevent freezing and potential damage during winter months. Pay special attention to low-lying areas in your system where water may collect.
Blowing Out Excess Water
To effectively winterize your sprinkler system, blowing out excess water is crucial. Using an air compressor, you can safely remove lingering moisture from the pipes and valves. This prevents freezing and potential pipe bursts during cold months.
Start by attaching the compressor to the blow-out port. Gradually increase the pressure while monitoring for any leaks or weak spots in your system’s connections.
Insulating and Protecting Components
Protecting your sprinkler system components from the cold is essential. Use insulation tape or foam sleeves around valves and fittings to prevent freezing. This simple step can save you from significant headaches later.
Additionally, consider using plastic covers for exposed parts, especially those in shaded areas. These barriers provide an extra layer of protection against harsh winter conditions, ensuring your system remains intact until spring arrives.
Wrapping Exposed Pipes
Exposed pipes are particularly vulnerable to freezing temperatures. Wrapping these pipes with insulation tape or foam sleeves can provide essential protection against the cold. This simple step helps maintain a consistent temperature, preventing potential damage.
Choose materials designed for outdoor use to ensure durability. Pay special attention to any bends or joints, as these areas are often the first to suffer from extreme weather conditions.
Adding Insulation to Vulnerable Areas
Identifying vulnerable areas in your sprinkler system is crucial. Pay attention to spots that experience extreme temperatures or are exposed to harsh winds. Insulation can make a significant difference in protecting these parts.
Use foam pipe insulation or heat tape for added protection. These materials provide an extra layer against freezing conditions, ensuring your sprinklers remain functional when you need them most.
Scheduling Maintenance and Professional Services
Timing is crucial for effective sprinkler winterization. Schedule maintenance early in the fall, ideally before temperatures drop significantly. This proactive approach ensures your system is prepared for the harsh winter months.
If you’re uncertain about the process, consider hiring professionals. They have the expertise and equipment to ensure everything is done correctly, providing peace of mind as you protect your investment from potential damage.
Importance of Timing
Timing is crucial when winterizing your sprinklers. Completing this task before the first frost can save you from severe damage.
Waiting too long increases the risk of frozen pipes and broken components. Aim to winterize as temperatures drop, ensuring your system remains intact throughout the chilly months ahead.
Hiring Professionals vs. DIY
Hiring professionals can save you time and ensure that the job is done right. They have the tools and expertise to winterize your sprinklers effectively, reducing the risk of damage.
On the other hand, a DIY approach can be cost-effective if you’re handy. However, without proper knowledge, you might overlook crucial steps or make mistakes that lead to costly repairs later on.
Tips for Successful Winterization
Keep a close eye on weather forecasts as winter approaches. Early preparation is key to ensuring your sprinkler system survives the cold months.
For those in regions prone to extreme cold, consider adding extra protection like pipe insulation or heat tape. Regular maintenance checks can also help catch potential issues before they escalate into more significant problems later on.
Monitoring Weather Conditions
Keeping an eye on weather conditions is crucial for effective winterization. Sudden drops in temperature can put your sprinkler system at risk if you’re not prepared.
Check forecasts regularly, especially as winter approaches. If a cold snap is predicted, take action immediately to protect your system and prevent costly damages down the line. A proactive approach goes a long way in safeguarding your investment.
Additional Steps for Extreme Cold Regions
For those in extreme cold regions, extra precautions are a must. Consider adding heat tape to vulnerable pipes, which can prevent freezing. Additionally, insulating above-ground components is crucial for protecting against harsh temperatures.
Another effective method is to bury your sprinkler lines deeper than the frost line. This ensures that even in severe winters, your system remains safe from the biting cold and potential damage.
Benefits of Winterizing Your Sprinklers
Winterizing your sprinklers is an investment in the longevity of your system. By preventing freeze damage, you save on costly repairs that can arise when water expands and cracks pipes.
Additionally, winterization helps maintain a healthy landscape. It ensures that your plants remain protected during harsh winter months, setting them up for a vibrant return come springtime.
Preservation of Sprinkler System Longevity
Proper winterization of your sprinklers directly impacts their lifespan. By protecting your system from freezing temperatures, you avoid cracks and leaks that can lead to costly repairs.
Additionally, a well-maintained sprinkler system operates more efficiently. This not only conserves water but also ensures healthier landscapes throughout the year, making regular winter preparation worthwhile for homeowners looking to maximize their investment.
Cost Savings in the Long Run How do you get rid of springtails naturally?
Investing in winterizing your sprinklers can significantly save you money over time. The cost of repairs from burst pipes and damaged systems far exceeds the minimal expense of proper maintenance.
By avoiding these costly mishaps, you’ll extend the life of your sprinkler system, ensuring it runs efficiently season after season. This proactive approach preserves both your landscape health and budget.
Does vinegar keep away springtails?
Vinegar is often touted as a natural pest repellent. Its strong scent can deter springtails, making your space less inviting for these tiny critters. A simple vinegar solution sprayed in affected areas might help reduce their presence.
However, while vinegar can be effective, it may not completely eliminate an infestation. Combining it with other methods ensures better results and long-lasting control over springtail populations.
How long until springtails go away?
Springtails can be persistent little pests, often lingering in damp areas. Their presence usually indicates excess moisture, so addressing that is key to their disappearance.
Typically, if you remove the conditions they thrive in, springtails may begin to dwindle within a few days. However, complete eradication might take longer depending on the environment and treatment methods applied.
Why do I suddenly have springtails?
Springtails are tiny insects that thrive in damp environments. If you’ve noticed them suddenly making an appearance, it could be due to excess moisture around your home. Poor drainage or overwatering plants can create ideal conditions for these pests.
They feed on decaying organic matter, so if you have a lot of mulch or other decomposing materials, they might be drawn to those areas. Keeping your landscape tidy can help reduce their population.
If springtails have invaded indoors, check for leaks and ensure proper ventilation in basements and crawl spaces. By addressing the underlying moisture issue, you’ll likely see fewer springtail sightings around your home.