
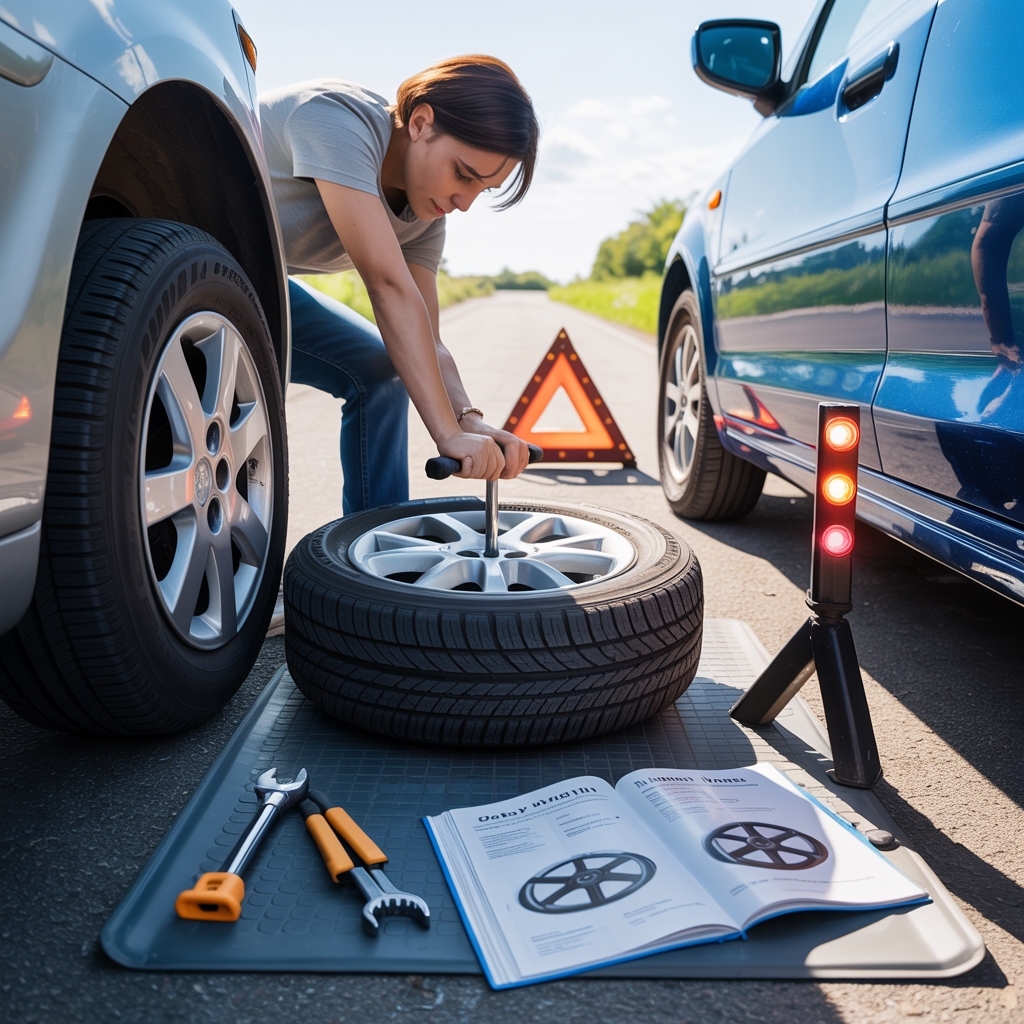
A flat tire is one of the most common car troubles, striking when you least expect it. While inconvenient, knowing how to change a tire is a fundamental skill that transforms a stressful roadside emergency into a manageable task. This comprehensive guide will walk you through the entire process safely and efficiently, ensuring you’re prepared for this inevitable event.
Why Every Driver Needs This Skill
You might rely on roadside assistance, but what if you have no cell service, face a long wait, or are in an unsafe location? Taking control of the situation by changing the tire yourself can get you to safety faster. Beyond the practical benefit, it builds confidence and self-reliance. Let’s ensure you have the right tools and knowledge before you start.
Pre-Drive Preparation: Your Vehicle’s Tire Change Kit
Before a flat ever happens, take time to familiarize yourself with your vehicle’s equipment. Locate these essential items:
-
Spare Tire: Check if it’s a full-size spare or a smaller “donut” temporary spare. Note its air pressure and any speed/distance limitations (usually 50 mph for 50 miles).
-
Jack: Identify the type (scissor or hydraulic) and understand how it operates.
-
Lug Wrench: This is the tool used to loosen and tighten the lug nuts. Some vehicles have a telescoping wrench for better leverage.
-
Owner’s Manual: Your vehicle’s manual has model-specific information, especially the exact jack points on your car’s frame.
Pro Tip: Once a month, do a quick visual check of your tires (including the spare) for proper inflation and wear. A spare with no air is useless in an emergency.
Step-by-Step Guide to Changing a Flat Tire
Follow these instructions carefully to perform a safe and successful tire change.
Step 1: Find a Safe, Level Location
Your safety is paramount. As soon as you sense a flat—a persistent thumping sound or the steering wheel pulling—do not slam on the brakes. Gently slow down, turn on your hazard lights, and scan for a safe spot.
-
Ideal Spot: A wide shoulder, empty parking lot, or rest area.
-
Avoid: Hills, curves, blind spots, and soft ground like grass or dirt. If you must stop on a road, pull as far onto the shoulder as possible.
Step 2: Secure the Vehicle
Before you touch the jack, prevent the car from rolling.
-
Come to a complete stop and put the car in Park (automatic) or First Gear (manual).
-
Engage the parking brake firmly.
-
Place wheel wedges (or large rocks) against the tires opposite the flat. If the flat is in the rear, chock the front tires, and vice versa.
Step 3: Retrieve Your Tools and Spare
Get your spare tire, jack, and lug wrench out of the trunk. Clear any cargo blocking them now—not after the car is lifted.
Step 4: Loosen the Lug Nuts (Critical Step!)
Do this before lifting the car. The weight of the car on the ground keeps the wheel from spinning.
-
Use your wrench to turn the lug nuts counterclockwise. You may need to use your foot for initial leverage.
-
Loosen them only about a quarter to a half-turn. Do not remove them completely yet.
-
Difficulty? If a nut is stuck, try steady pressure with your foot. Never use an extension pipe on the wrench, as it can shear the nut.
Step 5: Position the Jack and Lift the Vehicle
This is the most safety-critical phase. Incorrect jack placement can damage your car or cause it to fall.
-
Consult your owner’s manual for the precise, reinforced vehicle jack points along the frame or axle. Never jack on plastic body panels, the oil pan, or suspension parts.
-
Place the jack securely on firm, level ground. Extend it until it contacts the jack point firmly.
-
Begin pumping or cranking the jack. Lift the car until the flat tire is about 6 inches off the ground. There should be enough clearance to install the inflated spare.
Step 6: Remove the Flat Tire
-
Now, fully unscrew and remove all the loosened lug nuts. Place them in your hubcap or a safe spot where they won’t roll away.
-
Grasp the flat tire with both hands on the tread and pull it straight toward you. It may be heavy, so be ready. Set it aside, out of your work area.
Step 7: Mount the Spare Tire
-
Lift the spare and align its holes with the wheel studs.
-
Push it onto the hub until it sits flush. It may require a bit of wiggling.
guide 8: Hand-Tighten the Lug Nuts
-
Screw the lug nuts back on by hand, turning them clockwise.
-
Tighten them as much as you can with your fingers to ensure the wheel is seated evenly.
Step 9: Lower the Vehicle and Tighten Lug Nuts in Sequence
-
Carefully lower the jack until the spare tire just touches the ground but isn’t supporting the full vehicle weight.
-
Using the wrench, tighten the lug nuts in a star or crisscross pattern. This applies even pressure and prevents the wheel from warping. Apply firm, steady pressure.
-
Fully lower the vehicle and remove the jack.
St 10: Final Tightening and Clean-Up
-
Give the lug nuts one final tightening with the wrench, again using the star pattern, now that the car is fully on the ground.
-
Stow your flat tire, all tools, and the jack securely in your trunk.
-
Crucial: If you have a temporary spare, immediately adjust your driving. Do not exceed 50 mph and drive only the necessary distance to a tire shop for a permanent repair or replacement.
What to Do After the Tire Change
Your job isn’t over once you start driving again.
-
Visit a Tire Professional ASAP: Have them inspect the spare’s installation for safety and repair or replace your flat tire. Don’t drive indefinitely on a temporary spare.
-
Check Tire Pressure: Ensure your repaired tire or new spare is inflated to the manufacturer’s recommended PSI (found on the driver’s side door jamb sticker).
Essential Safety Warnings and Common Mistakes
-
Never get under a vehicle supported only by a jack.
-
Use the correct jack points. This cannot be overstated.
-
Avoid working on soft or uneven ground.
-
Don’t overtighten lug nuts with improper tools; this can strip them. A professional tire shop uses a calibrated torque wrench for the final step.
Mastering how to change a tire is more than a chore—it’s an act of empowerment. We encourage you to take 20 minutes on a sunny Saturday to practice in your driveway. Locate your tools, find the jack points, and run through the steps without pressure. This simple rehearsal builds muscle memory and confidence that will pay off tenfold on a dark, rainy night. Have you ever had to change a tire in a difficult situation? Share your story or any additional tips in the comments below to help fellow drivers!